PEX plumbing systems must be installed precisely as specified for each job. PEX plumbing systems need technical expertise and are often installed by licensed plumbers. However, there are a few things to bear in mind before beginning to establish a full-fledged PEX plumbing system if you plan on doing it yourself.
Explain PEX to me.
To begin, a definition of PEX is in order. PEX stands for cross-linked polyethylene, in case you were wondering. These were initially designed for radiant heating applications but had widespread use in modern hot and cold plumbing systems. PEX plumbing and tubing systems are user-friendly because of their adaptability. One of the benefits of PEX over traditional copper pipes is this. PEX is more resistant to high and low temperatures and chemicals because of how it is manufactured. As a bonus, it seldom ever undergoes any creep deformation.
PEX pipe installation procedures:
A basic, step-by-step instruction manual for installing such a plumbing system is provided below. If you follow these instructions correctly, you won’t need a plumber to install a PEX plumbing system at your house. It’s a money-saver in other ways as well.
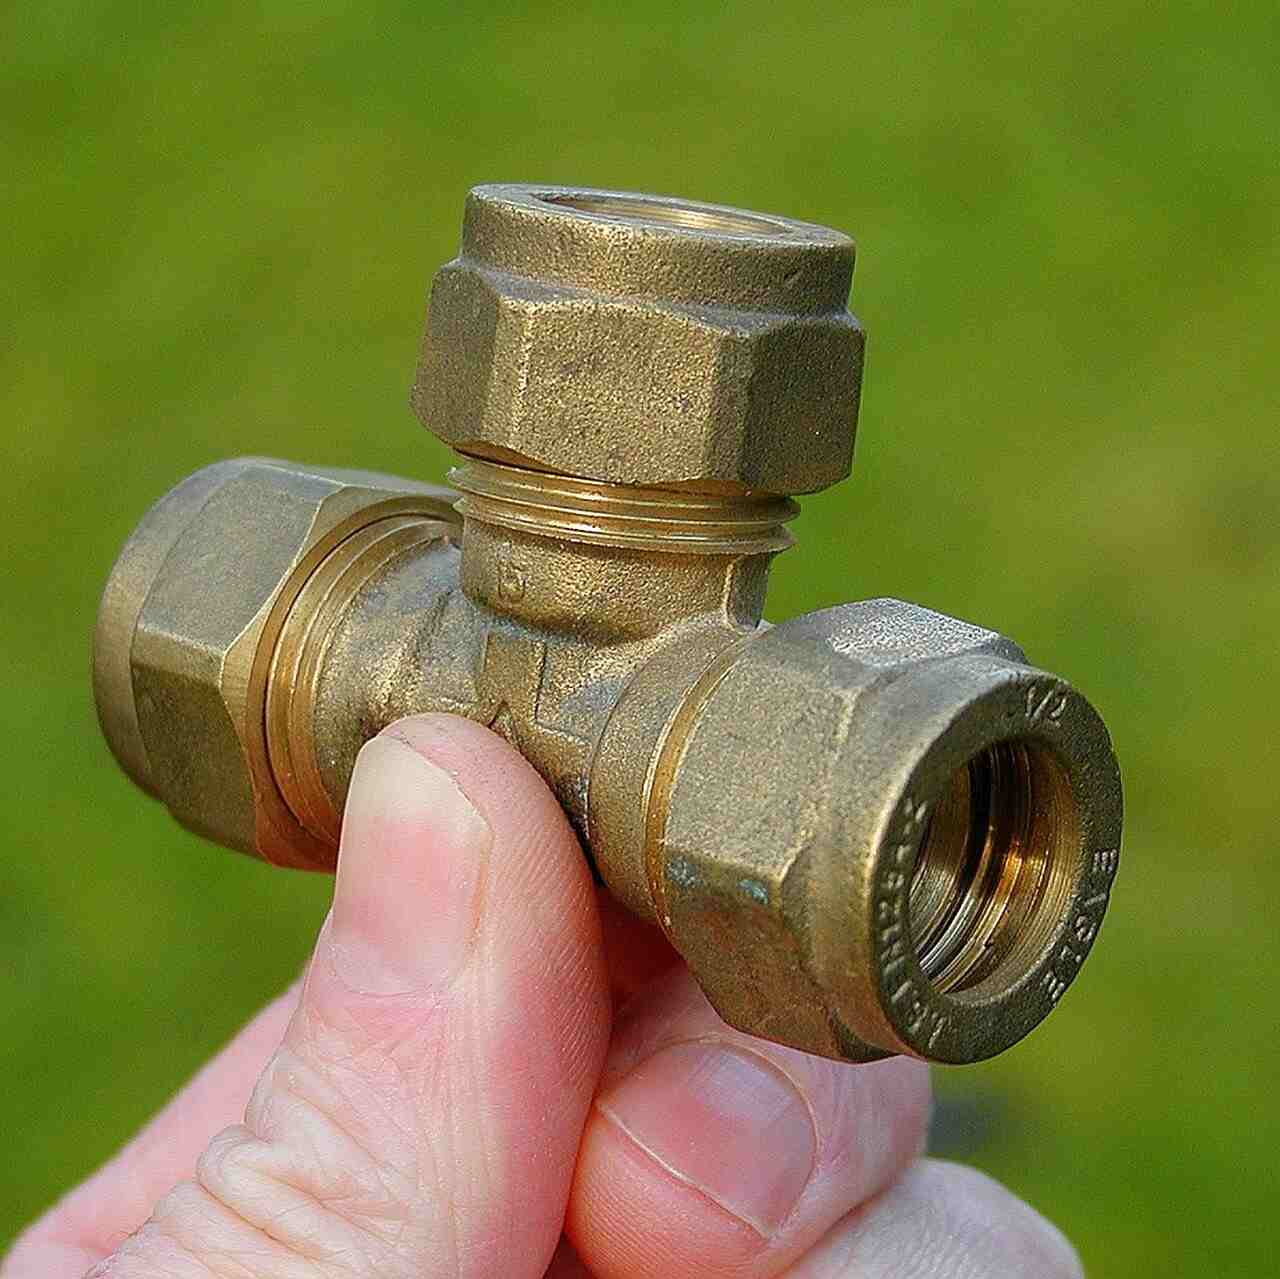
The following are necessities for a PEX plumbing system installation:
PEX tubing and connections
Crimped PEX
PEX ball valve manifold
Plating and nailing
PEX end caps
Tools:
Hammer
Reflow soldering oven
Tools for cutting PEX pipes
Straps
Hangars
Size of a crimp in a paddle bit
Angled drill bit
Step-1:
After the bit is positioned against the stud, you can begin drilling slowly. Boost your drilling rate as you progress. Only drill holes at uniform heights to ensure the pipe runs perpendicular to the ground. Separate water lines must be guided through the sill plate and the subfloor.
Step-2:
Once the holes have been drilled, the water lines can be inserted and run through them. Water supply pipes typically run through the subfloor. In some instances, though, the lines may penetrate the wall studs. If so, you’ll want to drill perfectly centered holes so the board’s screws and nails won’t snag on the pipes as they hang.
Step-3:
Lift the lines through the floor’s openings. The opposite end must be run to the point where water will enter the house. Do not remove the extra pipes from either end. Fasten the lines to the joists with the clamps. Ensure there is as much distance as possible between the hot and cold lines to reduce the heat lost.
Step-4:
Finish the sink rough stub-outs now. You can use a right-angle drill or a paddle bit to accomplish this. After the walls are up, remove the rough fitting cap and put it in the finish valves.
Step-5:
The crimps must be set up at this time. Make sure the PEX is cut straight for a proper crimp installation. Insert the pipe into the crimp fitting, followed by the crimp ring. The crimp ring can be removed using a pair of slip-joint pliers. Do not use your fingers to tighten the crimp ring; doing so could result in injury. Place the crimp ring 1/8 inch to 1/4 inch from the pipe’s end.
Step-6:
Starting with the fixtures, rough in the lines. To keep your pipes in good condition, resist the urge to solder around the PEX tubing. The PEX 90 coupling is the one to use. It can be attached to the PEX water line once it has cooled from the soldering process.
Step-7:
When the valves are hung, they should be oriented so the bottoms face down. Join them together in place with solder.
Step-8:
The water lines in the crawl area can be brought up and connected to the manifold now. Mount the upper brackets on the wall studs to be at head height. Attach the lower shelves to the manifold as well.
Step-9:
Start drilling all the holes you just marked with a nail. While you’re shooting, be careful not to crack the manifold. After you’re done training, set the manifold on the floor.
Step-10:
The PEX ball valves can now be installed on the manifold. Make that each valve is correctly secured in its port. Grab a line and bring it up to test the valve’s compatibility. Each fixture will have its independent valve with this setup.
Step-11:
After the ball valves have been installed, the PEX tubing may be brought up from the basement and connected to it.
The use of PEX [http://www.pex-association.com/] in the North American market is rather recent. It’s suitable for plumbing and radiant heat systems that use PEX tubing.
Read also: Tips For Organizing Ad Groups In Google AdWords To Boost Click-Through Rate.