First, make sure every component of the fan is working.
Remove everything from the ceiling fan boxes. Ensure you have everything you need by checking the list in the instructions. Also, ensure you have a firm grasp of the meaning of each component. To save time, arrange the various components in the order you will need to put them together.
Step 2: Dismantle the Existing Light Source
The next step is to dismantle the existing light fixture. Ensure the power is turned off to the light fixture before you begin. If you want to be sure, use a circuit tester instead of relying on intuition. Find out which wire in the electrical box goes to the lamp.
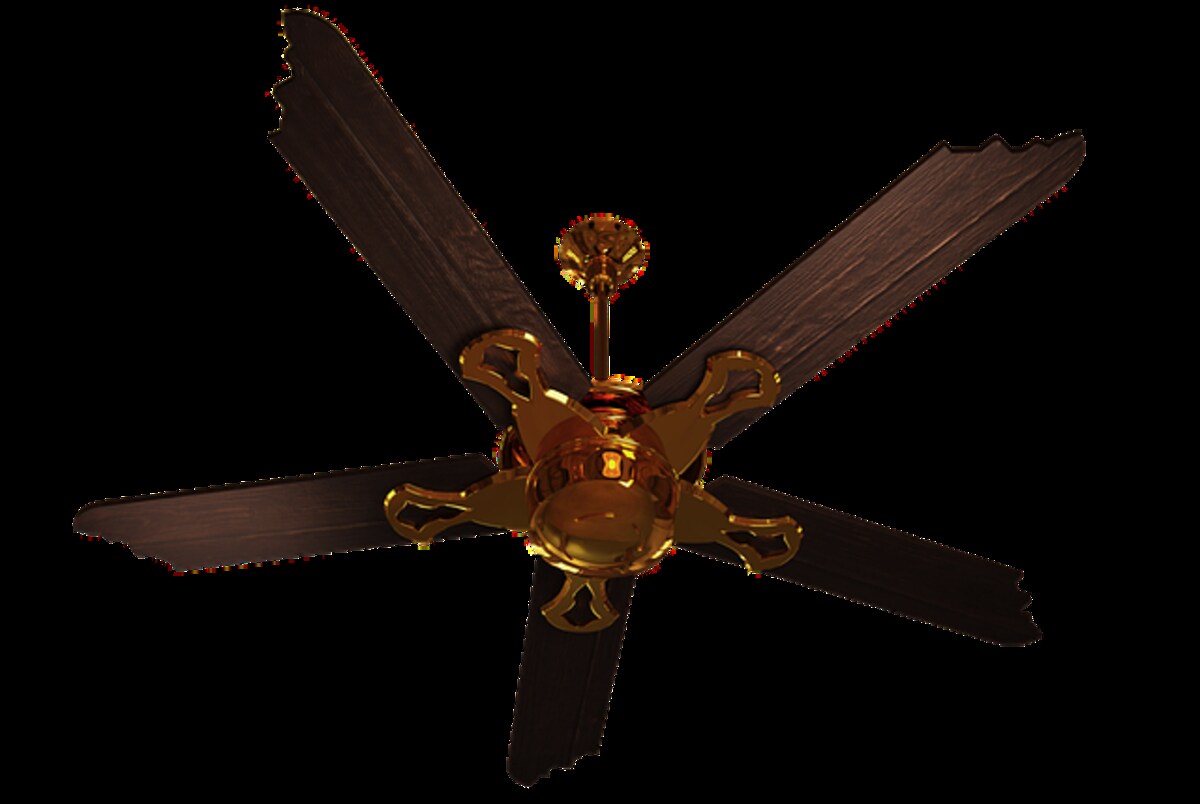
Third, set up the fan blades.
Fix the blades to the fan. If your blades come in multiple colors, place them in the brackets according to your preference. Learn more about this topic from the manual with your ceiling fan to ensure you understand the process correctly. Assistance during the installation process is preferable to attempting to do it independently.
Method 4: Secure Motor Assembly Cover
The motor assembly can be covered with either a ceiling hugger or a down rod, depending on how high your ceiling is. Since we can’t tell from your description what kind of fan you have, we suggest reading the manual to ensure the cover is installed correctly.
Mounting the Outlet Box’s Base Plate
Verify that the electrical box has been securely fastened to the underlying wooden framework. Make sure it is securely secured by adding bracings if it wobbles. Wires for various fans come in a variety of colors. Verify your guidance. The standard color scheme comprises green, white, black, and blue wires. The fan blades are typically black, while the light kit blades are blue. Read your instructions carefully, though, since they may differ.
The motor assembly must be hung from the correct hooks, and the wiring must be connected as instructed. It could be helpful if the fan’s wiring were all the same color. Ensure the fan has power before you call it a day on the installation. Be careful and take all necessary safety measures when you perform the checks. Now you may use the mounting screws to attach the mounting plate to the outlet box and the splice to the junction box. The fan kit needs to include the necessary screws.
Step 6: Connect the Completed Fan to the Motor
Your specific instructions must install the blades. Make sure every screw has been securely tightened.
The Seventh Step: Attaching the Light Bar
To properly install the light kit, refer to the included instructions. Plug-in terminals for the cables are required. Follow the instructions to connect the wires and install the lighting set.
Eighth, add finishing touches.
Put in the light bulbs now. Before installing a bulb, know its type and maximum wattage rating.
Add the glass globe or other fixture to your fan if necessary. Make that the light and fan speed wires are threaded through the globe’s openings.
It’s finished!
This was just a quick guide on how to mount the ceiling fan. Make sure to read the directions thoroughly before attempting the installation, and then, once you have the buff, unpack all of the components in the order specified in the instructions.
Read also: Tips For Organizing Ad Groups In Google AdWords To Boost Click-Through Rate.